Building the Tambour Doors...
Perhaps the most recognizable Hoosier cabinet feature is the tambour door. It is also one of the most time consuming parts to build. There are over 52 individual parts that make up the tambour doors for our Hoosier Beauty Cabinet.
The first step in building the tambour doors for the Hoosier Cabinet is to rough cut the wood to length. Because each individual tambour is narrow (only 1/4" x 3/4"x19") we can utilize many pieces of the wood remaining from cutting all of the other parts of the Hoosier. This allows us to utilize nearly all of the wood we purchase leaving very little scrap.
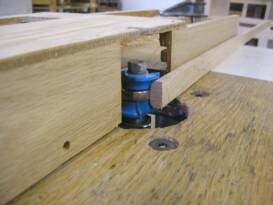
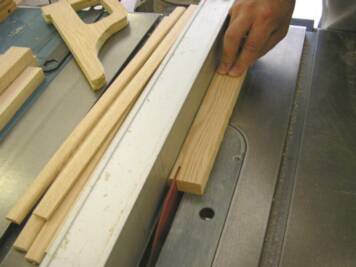
Next I use a quarter round router bit to form a rounded edge on the top and bottom edge of the 3/4" thick wood (see photo at right). The photo directly below shows how the shape of the bit matches up with the individual finished tambour strip.
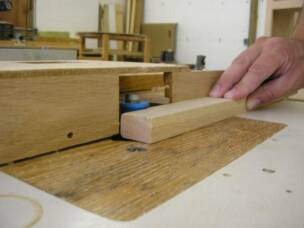
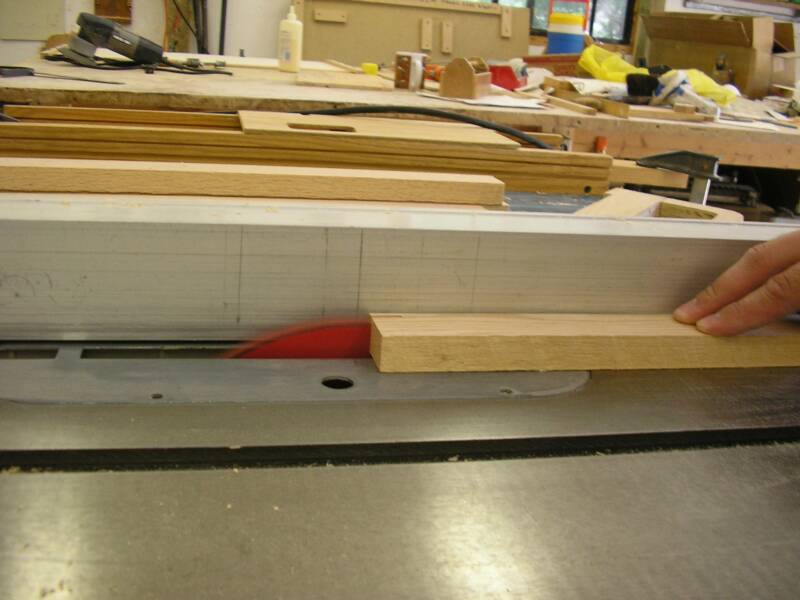
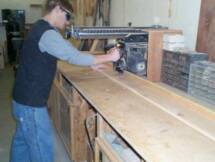
After all of the stock is rounded on both front edges I run the board through the table saw cutting the strip at just over 1/4" thick (see photo at left and below).
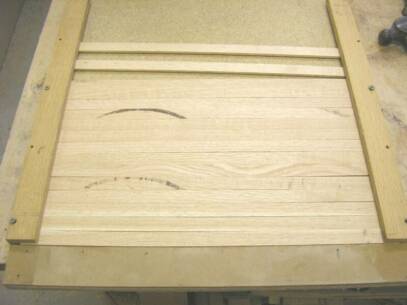
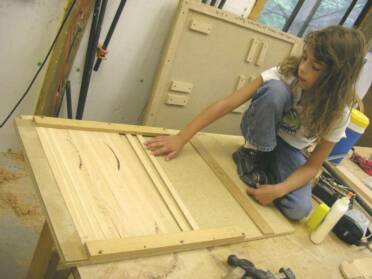
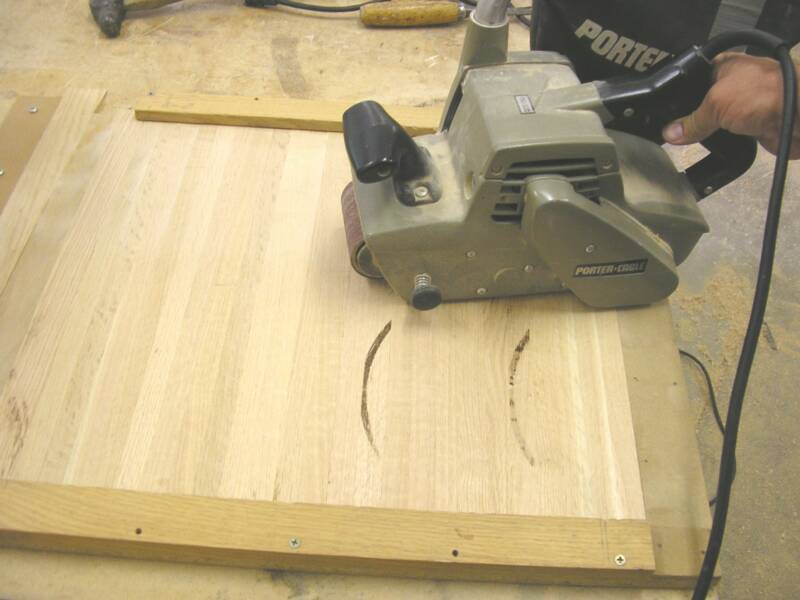
The photo to the right shows one of my favorite helpers (my daughter Kia) placing each individual tambour strip into the alignment jig. After all the pieces are clamped into the jig, a belt sander is used to smooth the back side of the tambour strips.
After the sanding is complete and all of the tambour strips are flat and smooth the tambour door is ready to be glued to it's fabric backing.
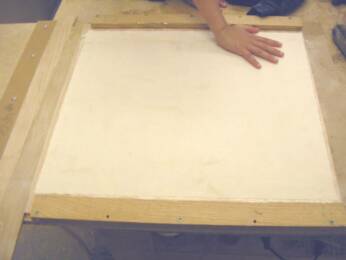
Glue is spread by hand over the back of the freshly sanded tambour door. All pieces must be tightly squeezed together or glue will slip between the tambour strips and could ruin the door.
After the glue is spread, the tambour cloth is laid in place and pressed into the glue by hand (photo at right).
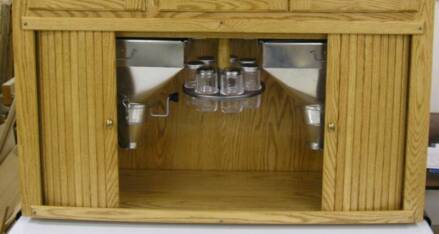
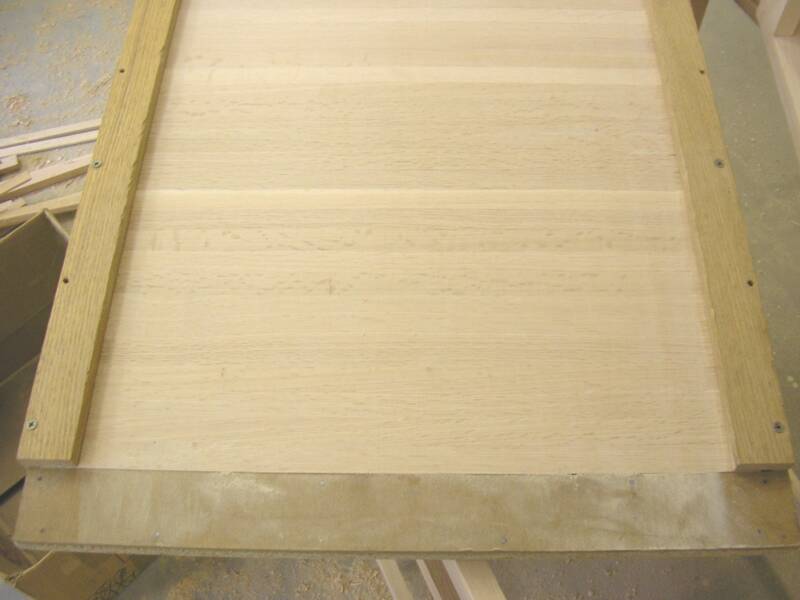
After the glue dries the tambour doors are trimmed to their final size and tested in the cabinet for proper fit and smooth sliding. The tambours are then finished with with rest of the cabinet and drilled to accept a solid brass, oval knob. The finished result can be seen in the photo above.