Assembling the Cabinet...

At this step in the creation of a Hoosier, it's rewarding to see the smaller parts join to create something bigger.
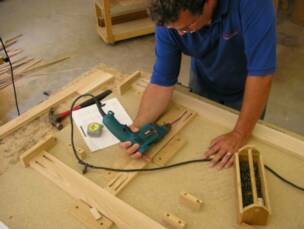
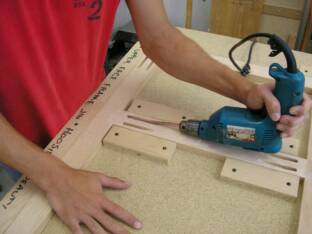
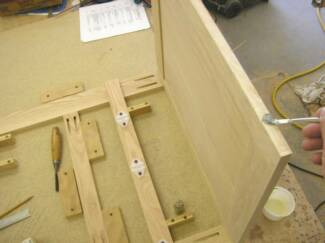
In these photos my son Michael and I are using "jigs" to layout the upper face frame and lower rear cabinet frame. We then apply glue to the joints and attach the pieces with screws.
Assembling the upper face frame. The lower face frame is also assembled at this time.
Assembling the lower rear frame.
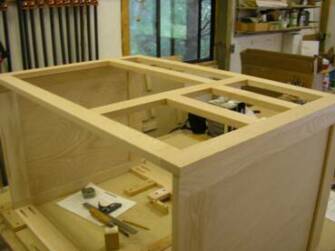
After the face frames and lower rear frame are assembled it's time to construct the upper and lower units. The face frame, sides, and interior framing come together to create both the units. Wood glue and screws are used at every joint.
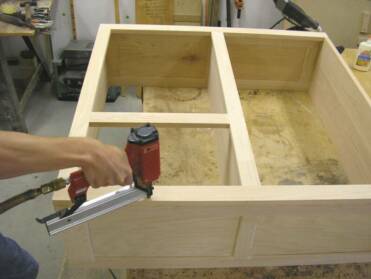
Attaching the center horizontal member (bottom of the upper door area) to the upper side.
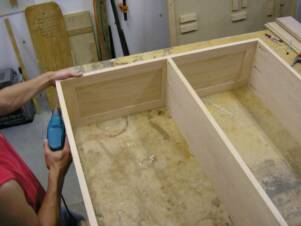
Attaching the bottom to the upper unit.
Last but not least, the face frames are attached to the upper and lower units. We use a pneumatic nail gun and glue to attach the face frames to the sides of the lower unit and to the top bottom and sides of the upper unit. The pneumatic nail gun sets the nail head just below the surface of the wood. The nail holes are filled and sanded smooth.
Applying glue to the edge of the lower unit's side in preparation for the face frame.
Lower unit after the face frame is nailed and glued in place.
Nailing the upper face frame in place.
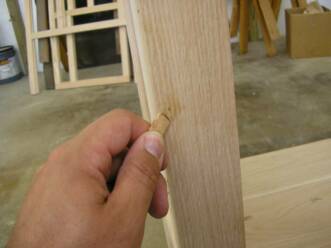
Filling a nail hole.
Every joint is checked for accuracy and filled. 99% of the wood filler is sanded off leaving a seamless, smooth joint. The upper and lower units are finish sanded and set aside for finishing.

Filling a joint on the top of the cabinet.
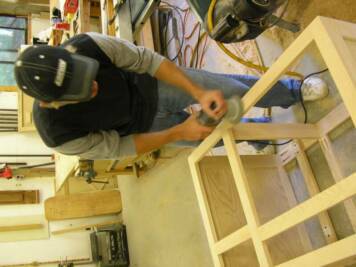
Finish sanding the lower unit face frame.